Although the WordPress is free to you, but still require hosting and also a domain name for your site. Picking a great WordPress hosting company for your blog site can be complicated.
With such a big variety of hosting providers here, more and more people make the mistakes when choosing the hosting company.
The trouble is, you can not comfirm if a host is great or bad unless you buy their plans service. So, you need to take care when you choose which hosting provider to host your site with.
Create a WordPress blog on HostGator is extremely simple, many thanks to their QuickInstall tool that enables you to install 50+ scripts like Drupal, WordPress, Joomla… on your account with a few clicks.
Total HostGator is a nice webhosting company. It’s most definitely the largest in the industry, is usually well related to, an excellent, cheap for the majority of bloggers to begin. We extremely advise their shared hosting for smaller sized websites and blog sites.
They additionally have fairly a variety of Hosting solutions, just like VPS servers, dedicated servers, Cloud hosting etc. We believe the most effective value is in fact the cheap hosting with HostGator. With shared hosting plans start with a few dollars monthly, it’s difficult to fail with this company.
HostGator pros:
Unlimited disk space, bandwidth, email, and databases.
Low hosting prices
Free SSL certificate
Free domain name
Free website transfer
cPanel control panel
One-click WordPress install
24/7 customer support via phone & live chat
45-days money-back guarantee
As we pointed out above, HostGator made it much easier than ever before to start your WordPress blog site.
Next, we will certainly show you how you can get webhosting from hostgator and also a free domain for your blog site and also just how to setup a WordPress blog site.
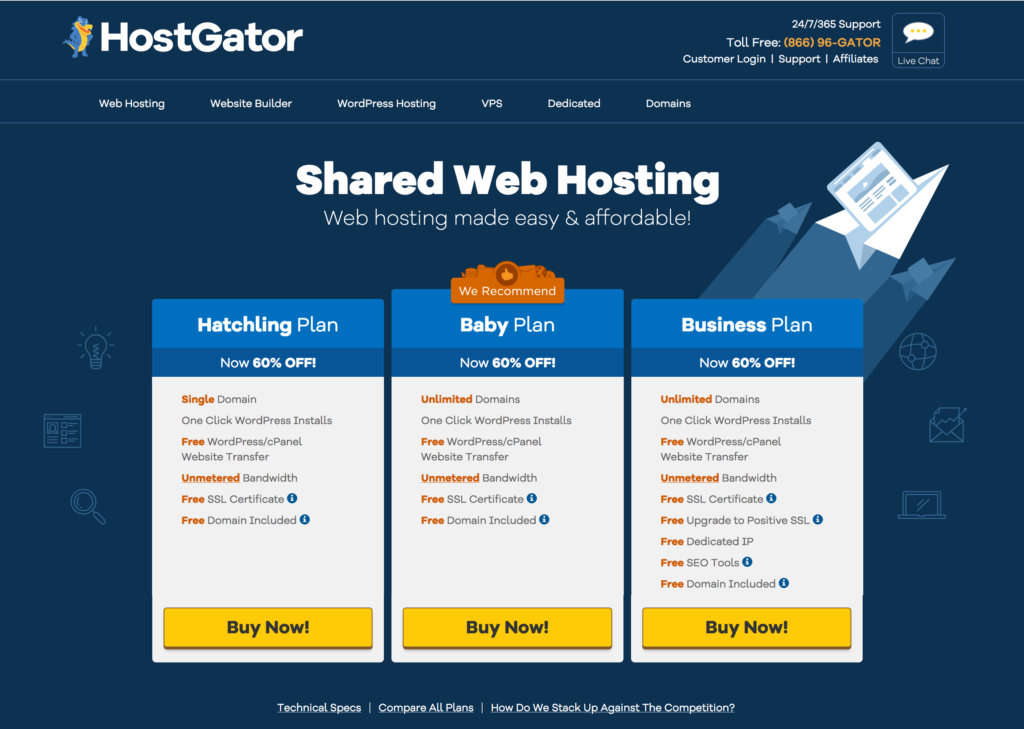
1. Visit HostGator.com and select the hosting plan you want and click on Buy Now!
Three plans: Hatchling, Baby, and Business plans. Now, select that you wish to buy, make sure the plan matches your website needs.
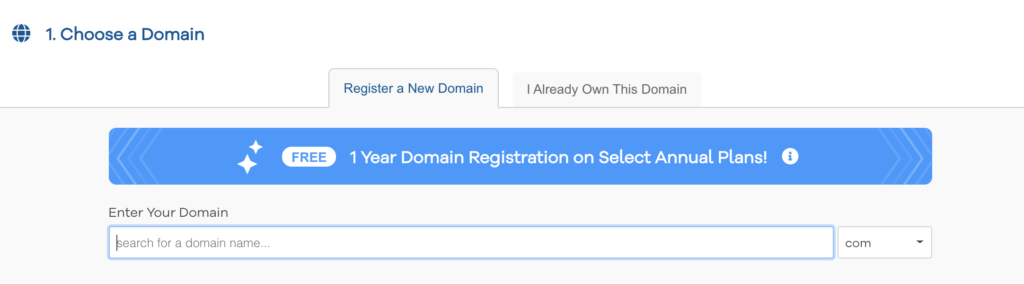
2. Choose a Domain Name
HostGator offers a FREE domain for 1 year or enter an existing domain for your blog.
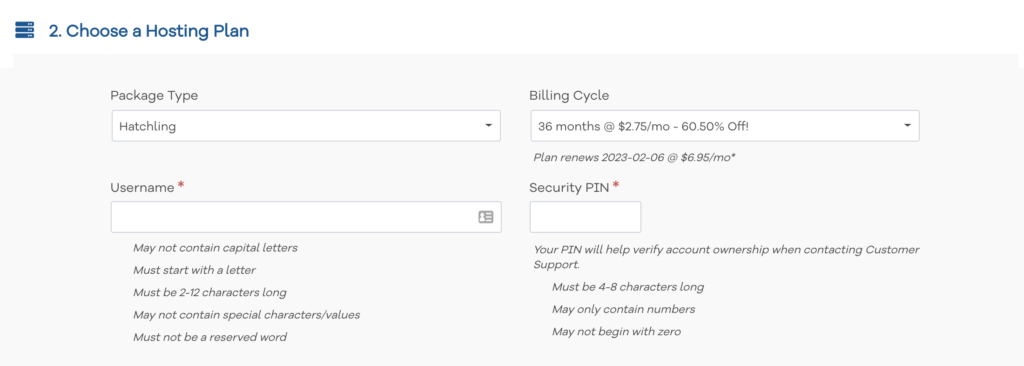
3. Choose a Plan & Create HostGator Account
choose a hosting plan package type and billing cycle, then select a password, pin, and correct email address for your hostgator account.
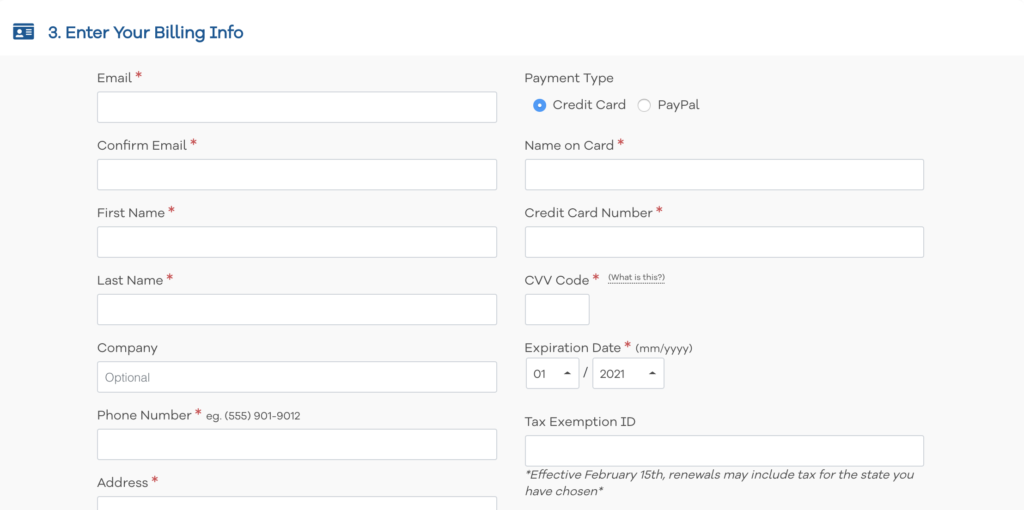
4 Enter your Billing Info
Fill out billing information and you have to fill up all information along with payment methods. You can choose to pay via credit card or PayPal.
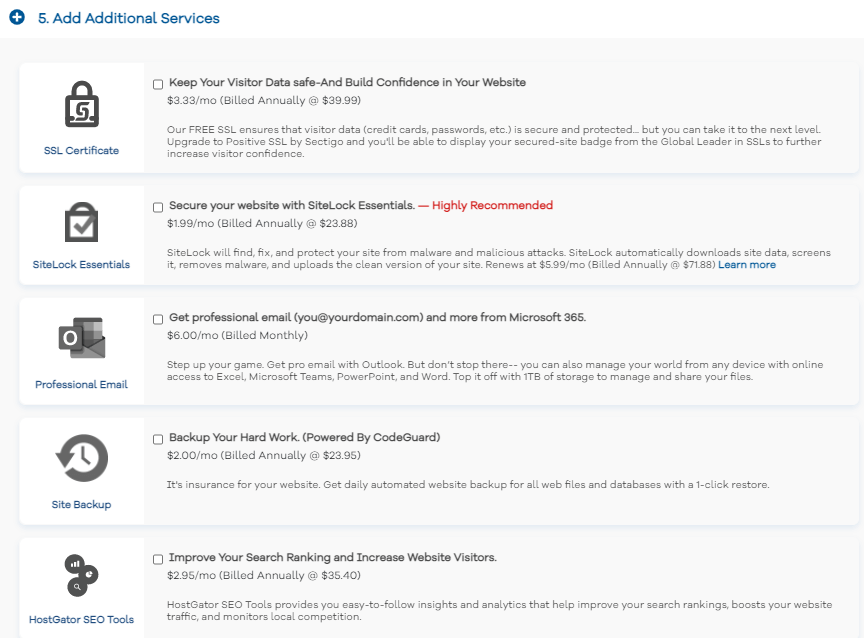
5. Add Additional Services
You can choose all or none, just for your needs.
6. Enter a Coupon
if you buy through My Special discount link you will get discount price, the coupon automatically will be applied.
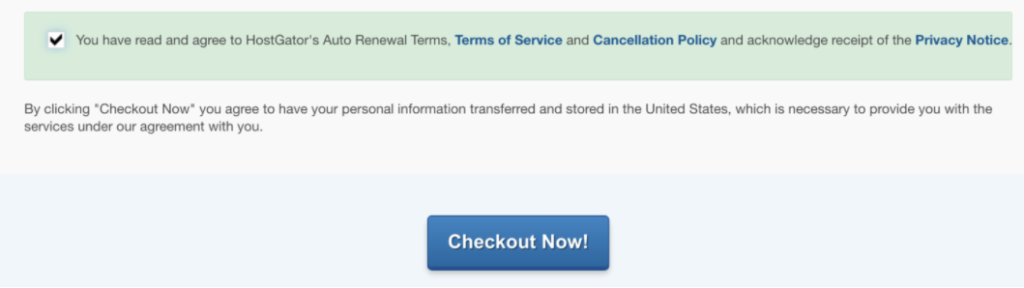
7. Check Out
In this section, you have to checkmark the privacy section and then click “Checkout Now”
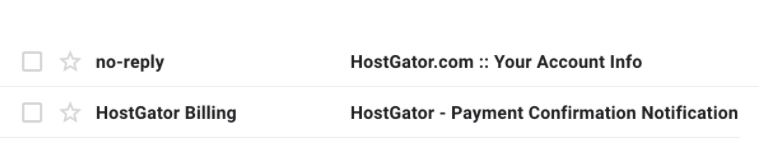
8. Check your email
Once the payment done, hostgator will send a welcome email for your order summary and login information.
Build Your WordPress on hostgator
To install WordPress, you will need to login to cPanel first. Check the login infomation that have been sent to your email after you finished purchasing.
HostGator is one of the best friendly hosting which you can install WordPress easier than ever. So, follow the steps below.
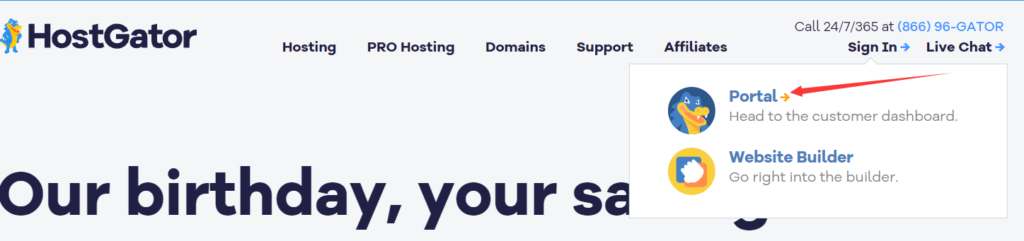
Step 1. Login HostGator Portal
A. Visit www.hostgator.com, move your mouse to “sign in” and then click “Portal”,
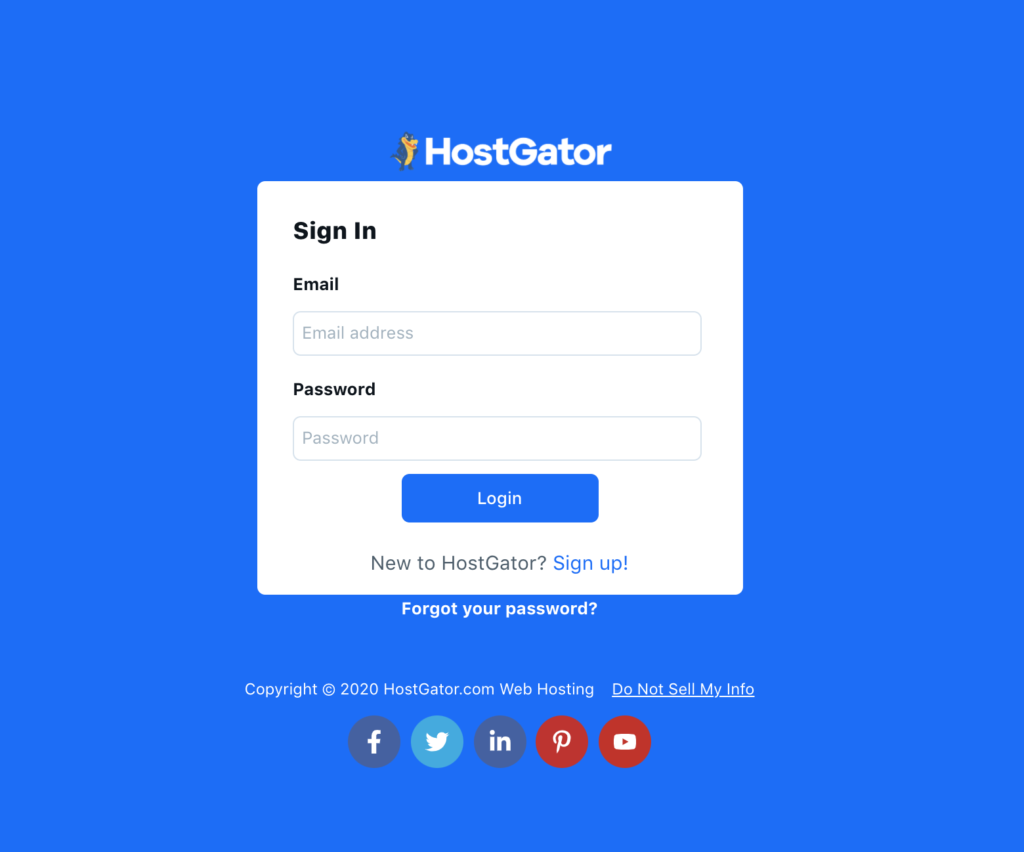
B. Submit your login information,
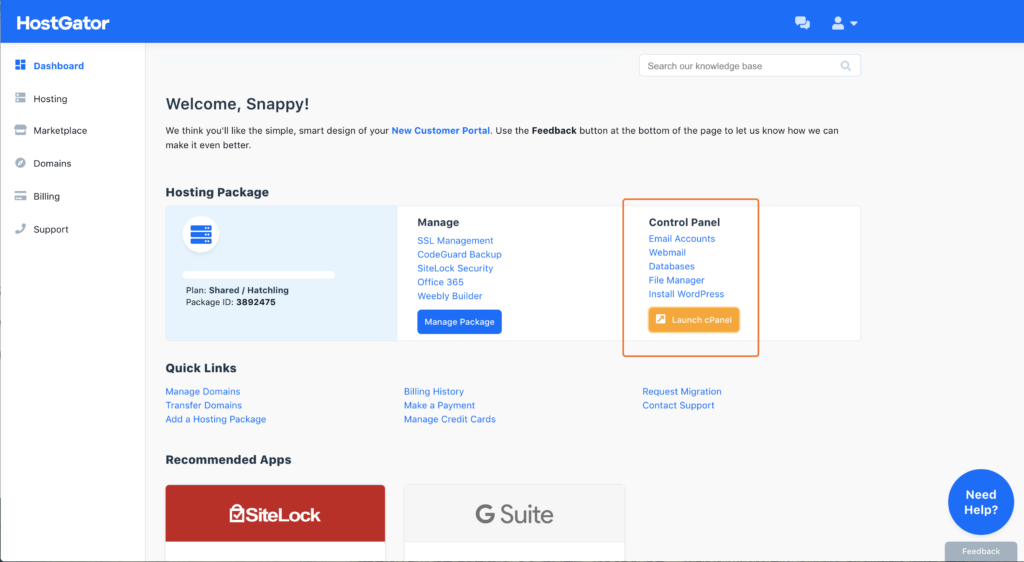
C. Click “Launch cPanel”
Step 2. scroll down to the “Software” section and click on “QuickInstall”.
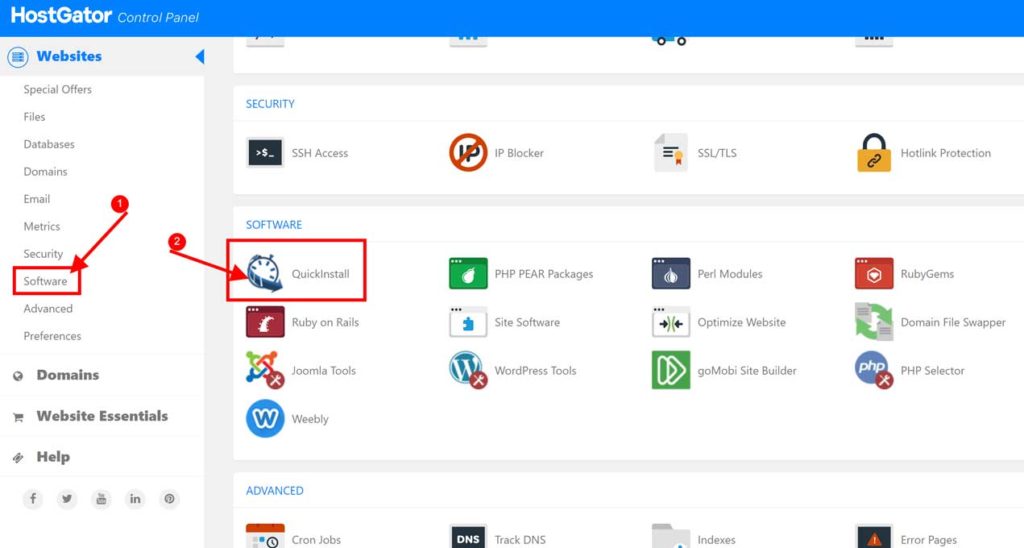
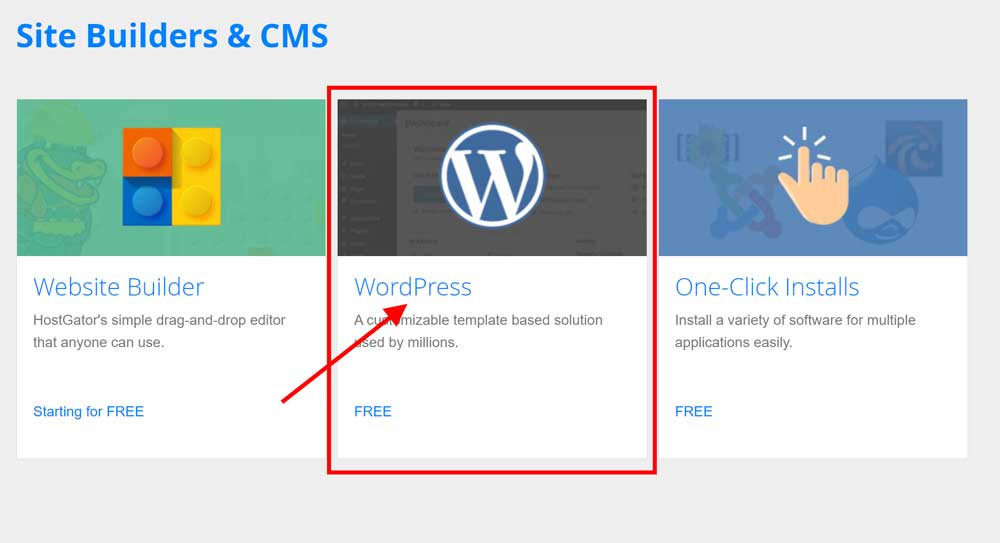
Step 3. Now, click on WordPress
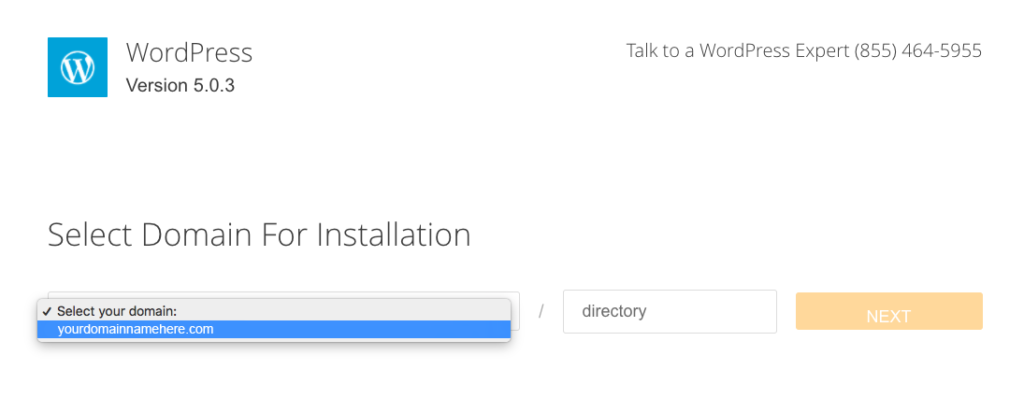
Step 4. Enter all of your relevant website details.
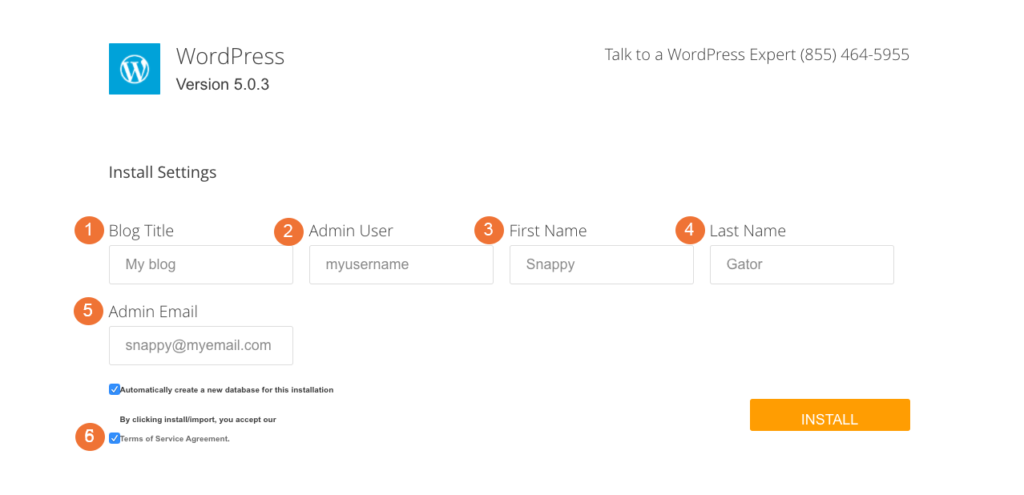
Once you’ve named your site and entered your login information click “Install” and the software will install WordPress on your site and create all of the necessary files.
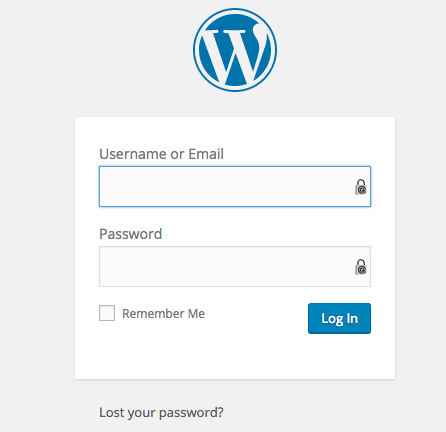
Step 5. Login wordpress
Just add “yourdomain/wp-admin”, now login with the details.
All done.